0. Preparation
-

The inner housing made of titanium protects your seed (yellow part)
The stamping of these discs would destroy the stamps. This is due to the high strength of Titanium Grade 5.
-
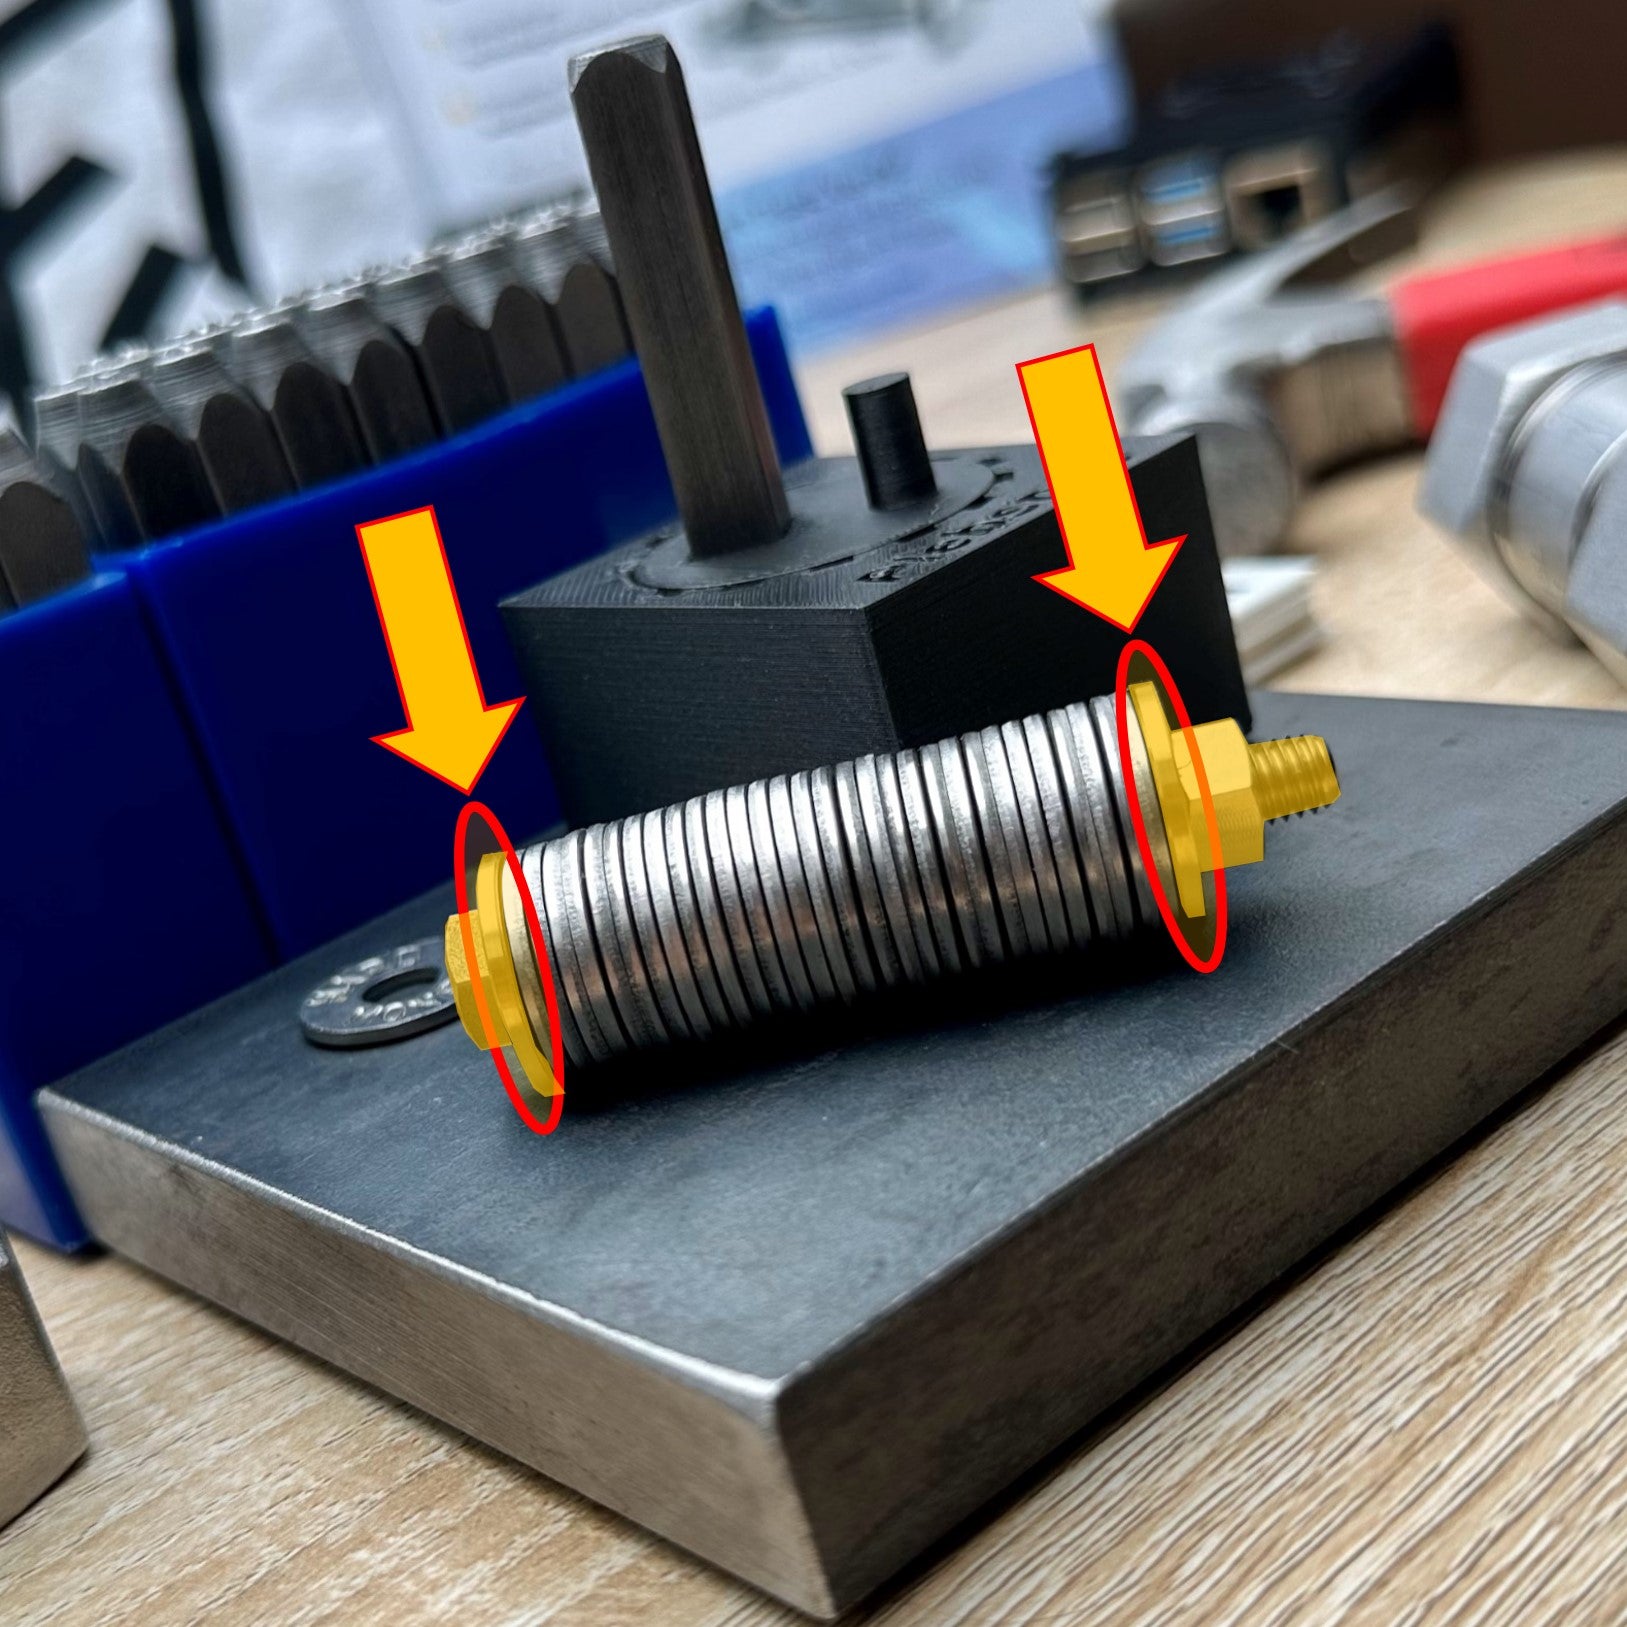
The inner housing comes pre-assembled
Please pay attention to avoid confusion before you engage in the proof of work.
-
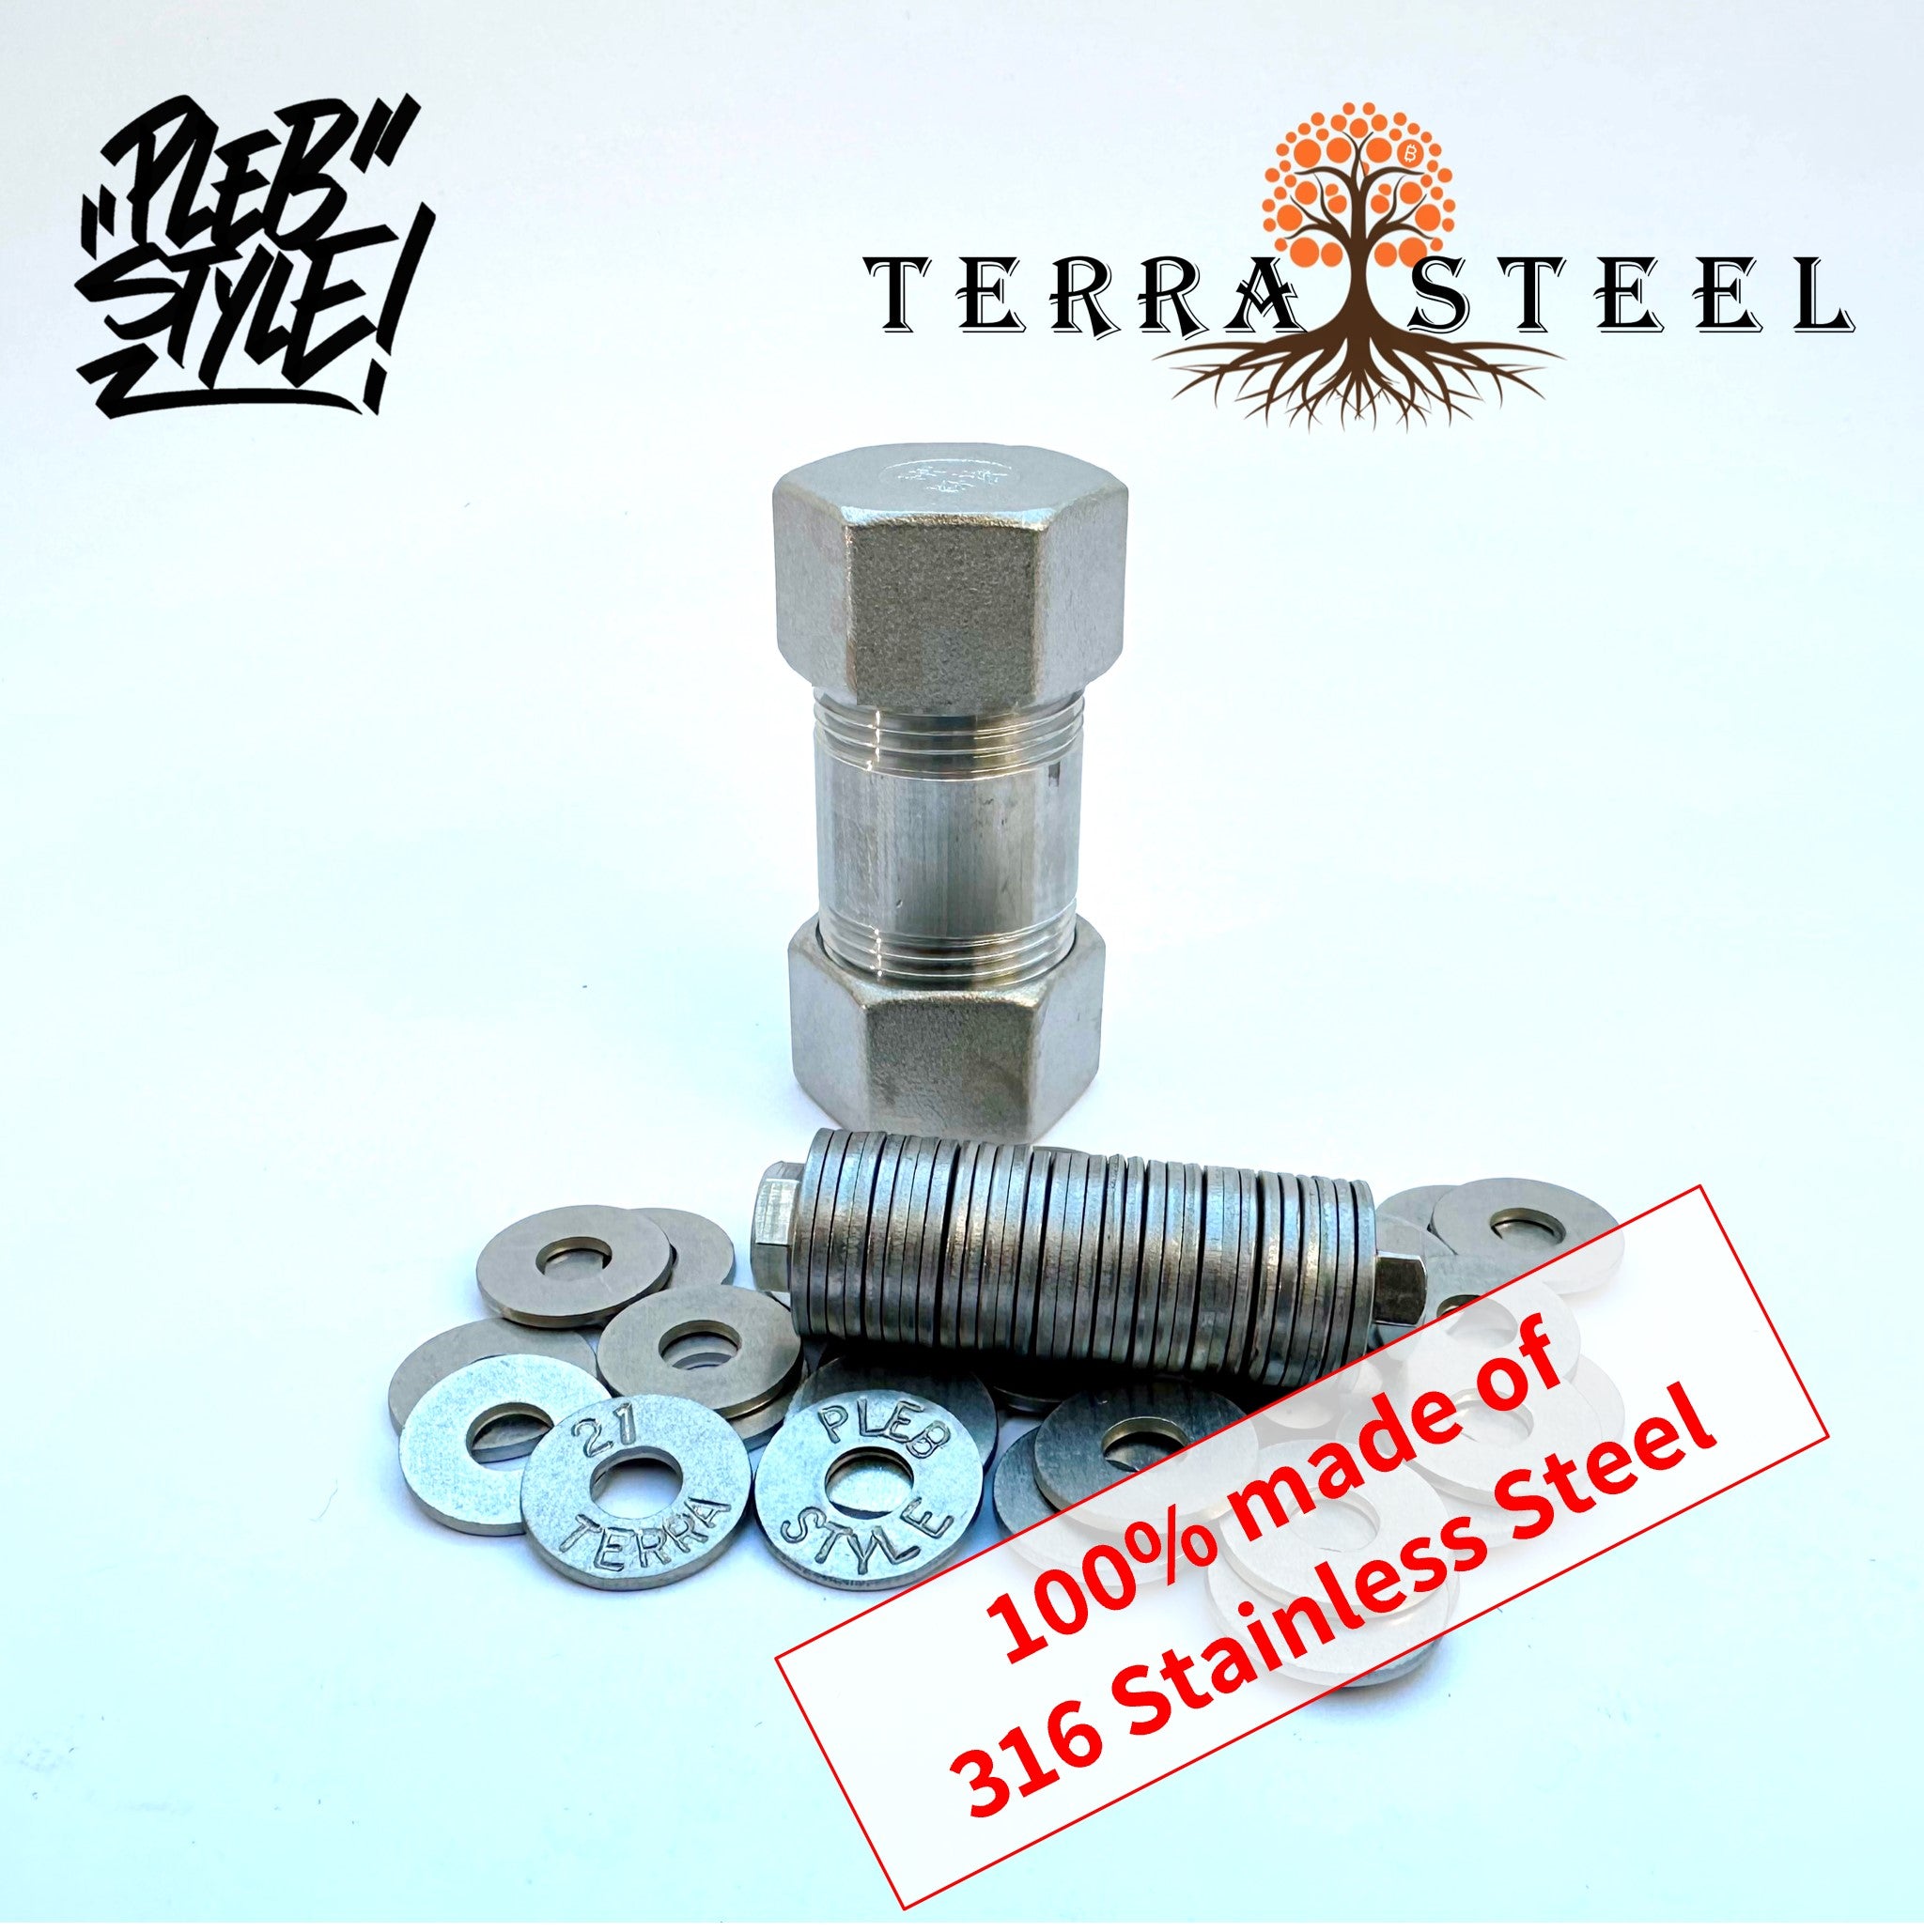
The TerraSteel Wallet has nothing to consider in this regard
The TerraSteel Wallet is entirely made of 316 stainless steel and does not have an inner housing made of titanium


1. Video: Stamping in Seed Phrase
Mount Inner Housing
-
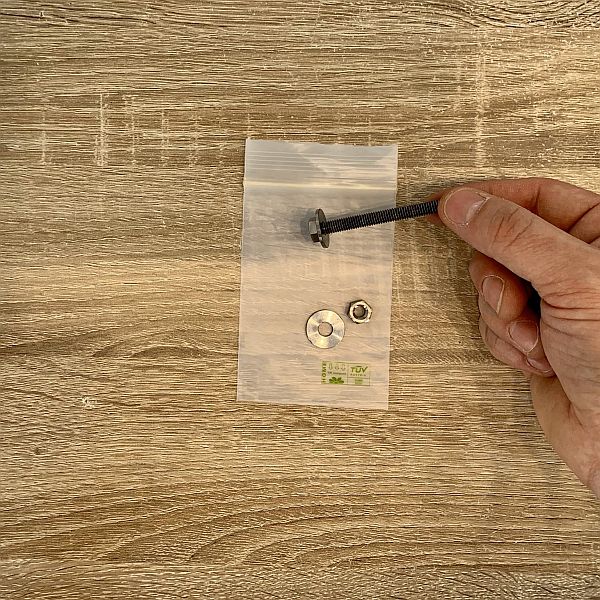
2. Thread a titanium disc onto the titanium screw body.
-

3. Prepare seed discs
-
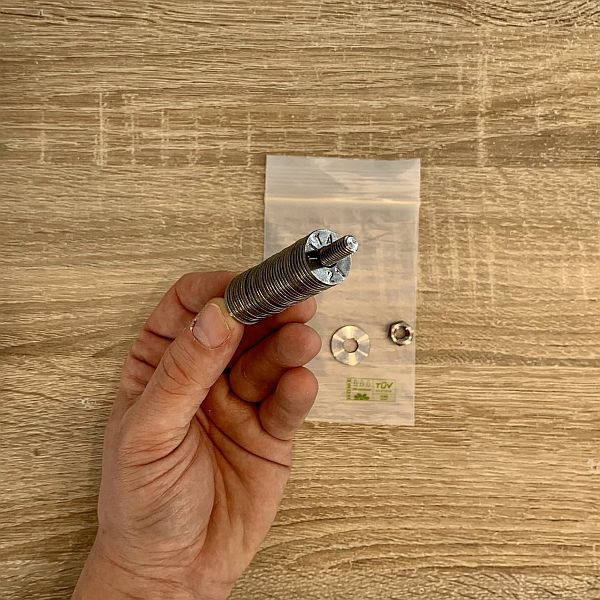
4. Thread the seed discs onto the titanium screw body.
-
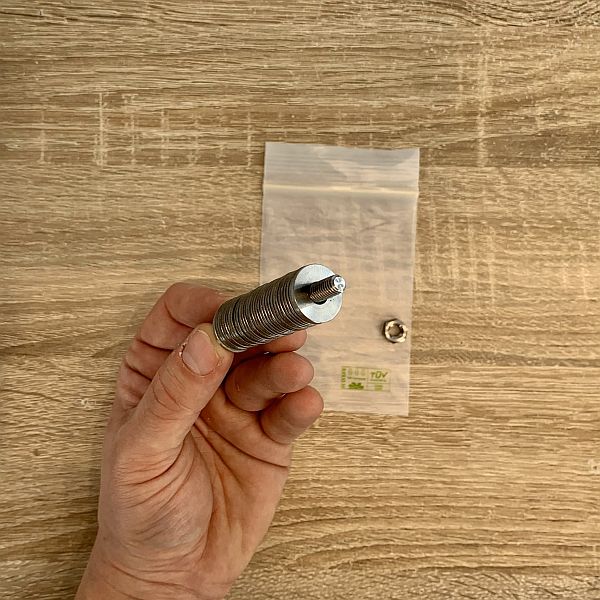
5. Thread on the second titanium disc
-
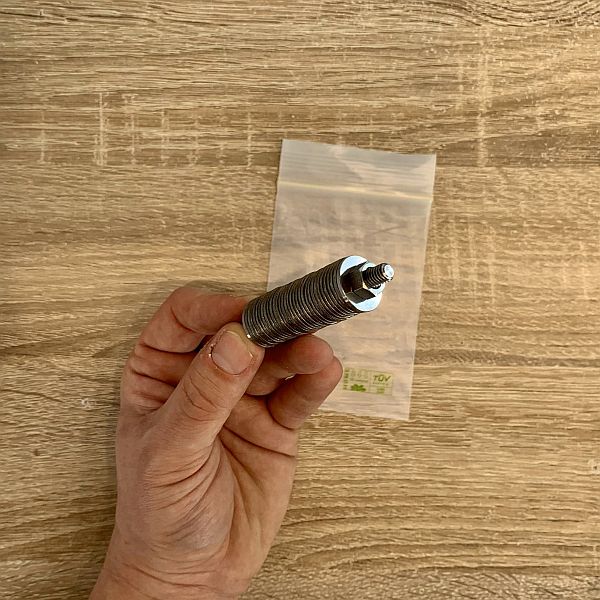
6. LIGHTLY tighten titanium nut


3. Assemble the outer housing
-
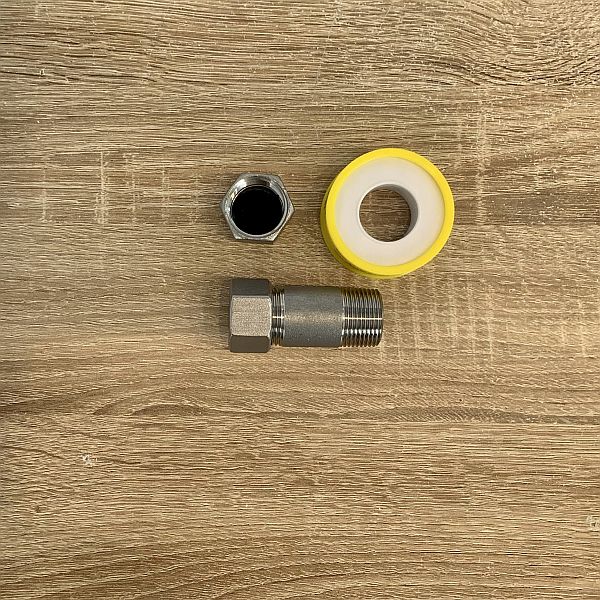
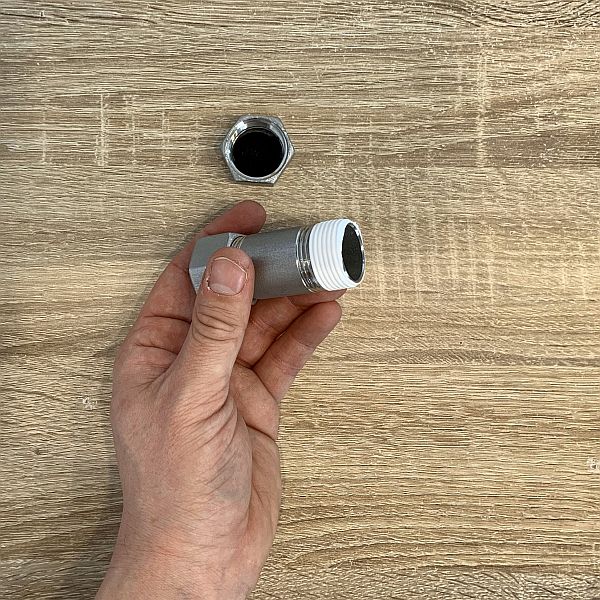
1. Unscrew one cap and have the PTFE tape ready. If you do NOT need or want a 100% sealing effect, you can omit the PTFE tape. Depending on the placement location, this is more or less important...
-
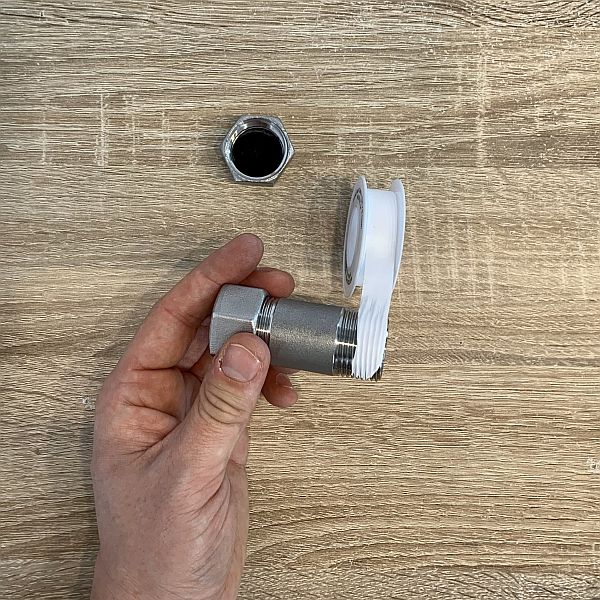
2. Wrap the thread of the base body with PTFE tape. IMPORTANT: Observe the winding direction! Clockwise (as shown in the picture)
.
-
3. With approx. 7 windings the thread becomes completely tight
-
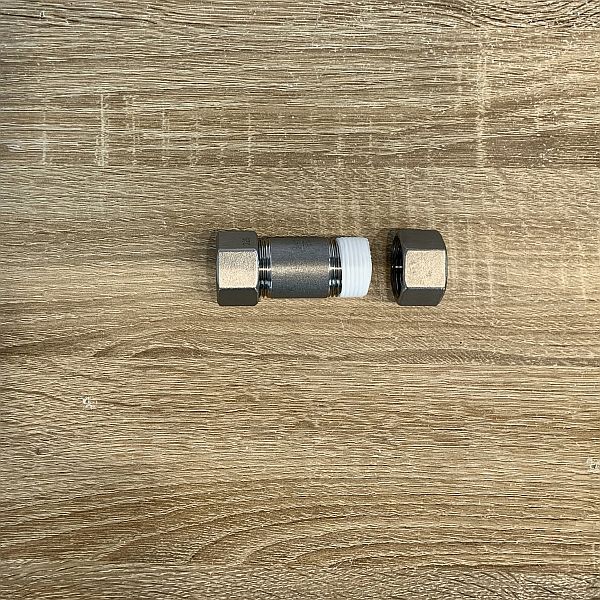
4. Screw the cap on
-
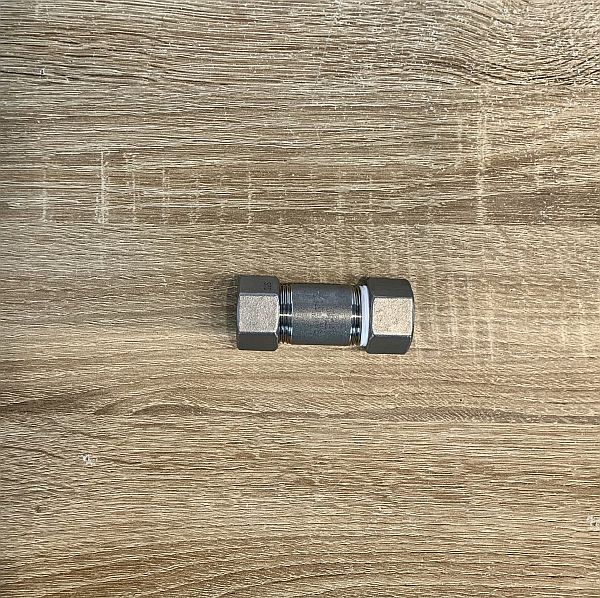
5. Rotate 180° to switch sides
-

6. Wrap with PTFE tape (see steps 2and 3).
-
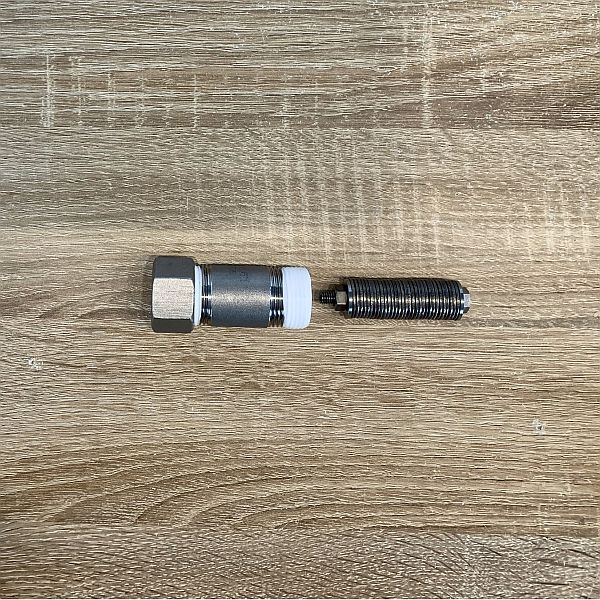
7. Prepare Inner Housing with Seed
-
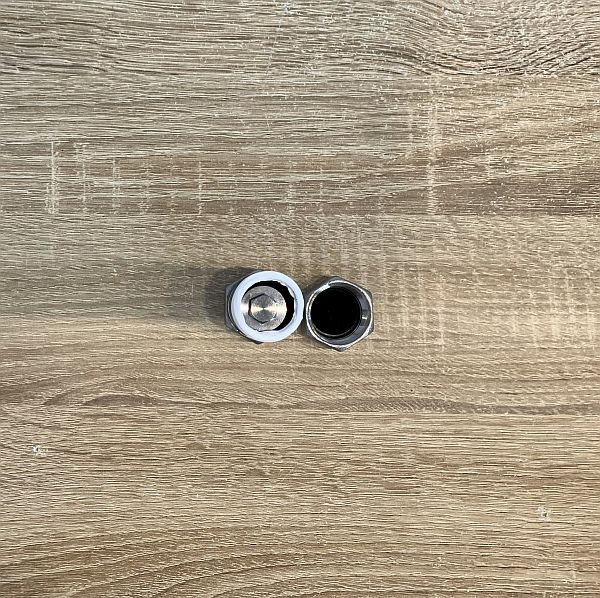
8. Insert Inner Housing into Outer Housing
-
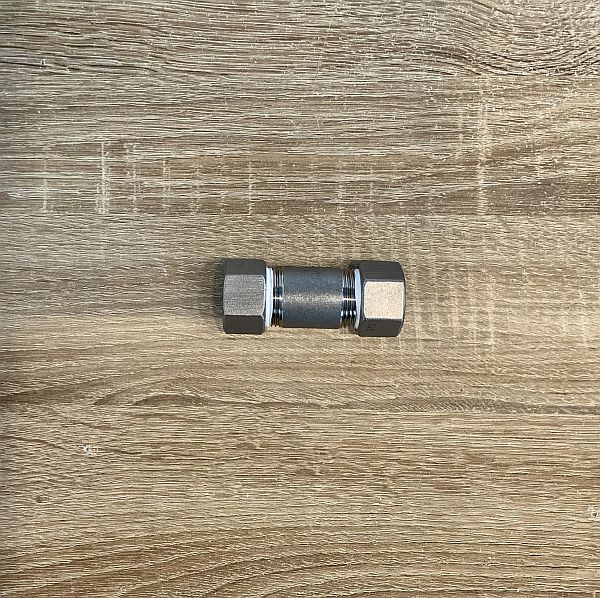
9. Screw down and DONE


